How to Make Your Own Shipping Boxes
Shipping costs can add up quickly and finding the right sized box to fit your shipping needs can be difficult. In this post, I’ll show you how to eliminate these frustrations and make your own shipping boxes!
Step 1- Determine Dimensions
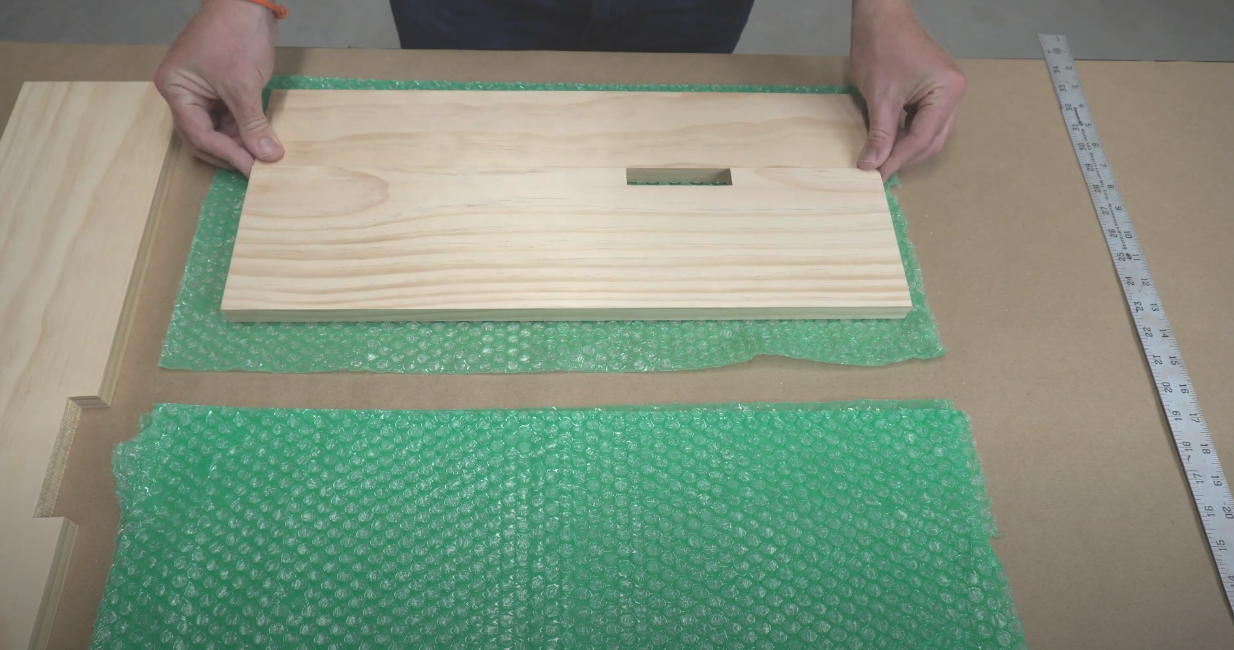
The first step in making your own boxes is to determine the dimensions of the item or items you’ll be packaging. To do this, lay out your pieces to figure out the best way to organize your items to get them as flat as possible. If you aren’t working with multiple pieces you can simply measure your item.
Keep in mind that you want to take these measurements including any packing supplies you plan to use like foam inserts or bubble wrap. You want to get the measurements for the total length, width and height. My dimensions are:
Length- 21”
Width- 10”
Height- 2”
Step 2- Sketch the Layout
I recommend grabbing a scrape piece of paper to sketch up the layout for the template you’ll be cutting. This is pretty simple math and you can probably do it in your head, but I always like to have something to reference before I cut anything.
We are going to be constructing a box that folds up to create its final shape.
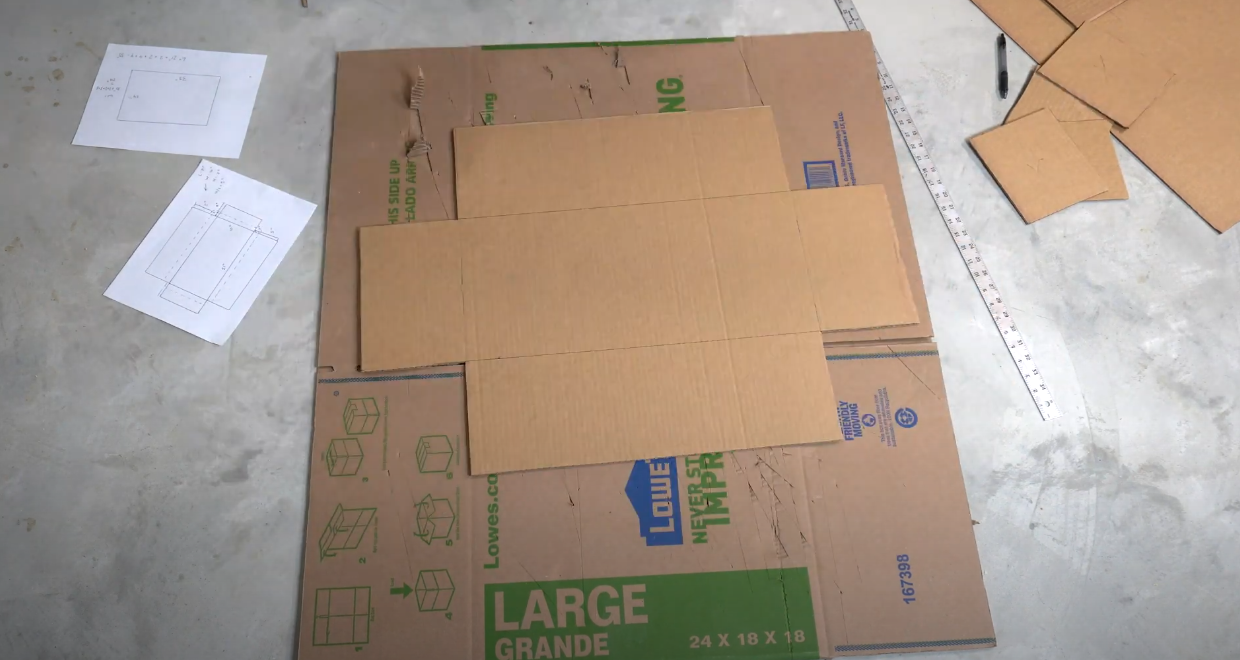
The dotted lines represent the height of our item. Since the height of what we are packaging is 2” then that is the distance we need to add around the perimeter of our entire box.
For the large flaps, you’ll include the 2” as well as half of the items width. This will ensure that the box will fold up completely and you will be able to seal it closed. You’ll see what this looks like at the end of this post. For the inside flaps, the total width doesn’t matter because the outer flaps will fold over top of them. I typically use 4 inches.
Step 3- Cut out the Template
Once you have your dimensions all figured out it’s now time to cut out a template that you can use to make these boxes multiple times. If just need one box, use the template as your box and you are all set!
I recommend laying down a scrape piece of cardboard on whatever surface you use to cut your boxes. This will protect both the blade you are using to cut the cardboard and also protect the surface you are cutting on as well.
Step 4- Perforate Your Fold Lines
To allow for the box to fold up into its final shape you have to perforate the fold lines. I use this Perforation Cutter that I got on Amazon. A box cutter will work just fine but you have to make sure you do not cut all the way through the cardboard. You just want to score the line to allow for it to fold easily.
I use a long ruler as a guide to make the perforated cuts as the cutter tends to run off on its own if I try to free hand it.
Step 5- Box it Up!
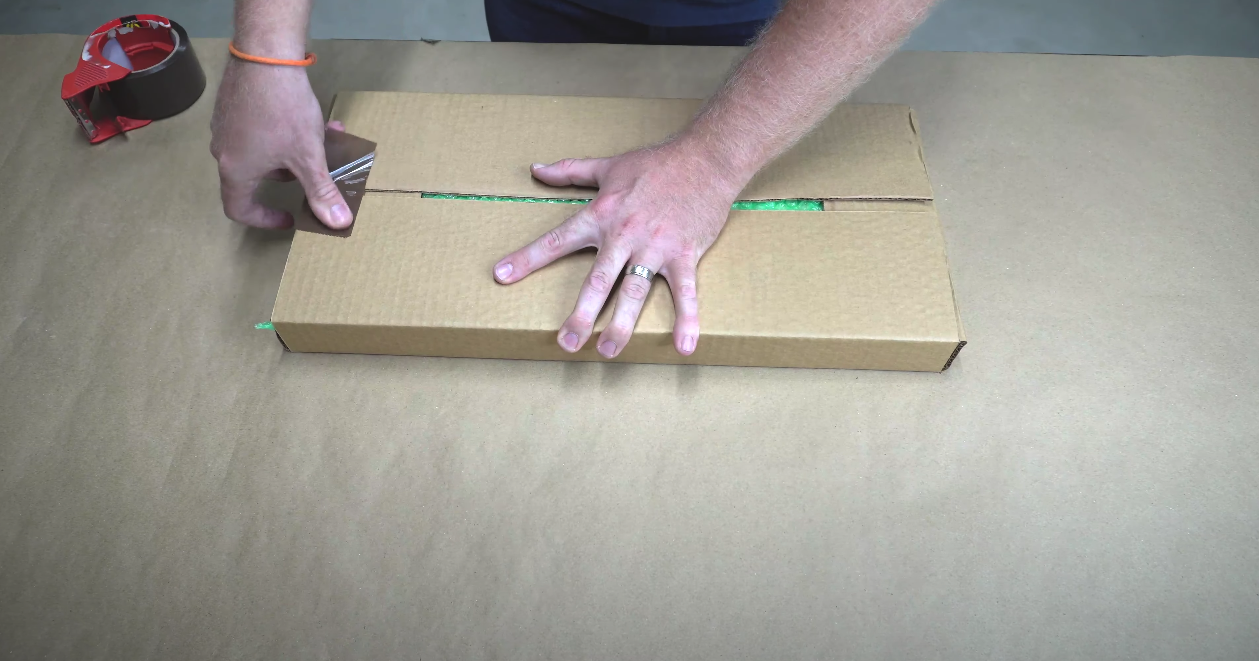
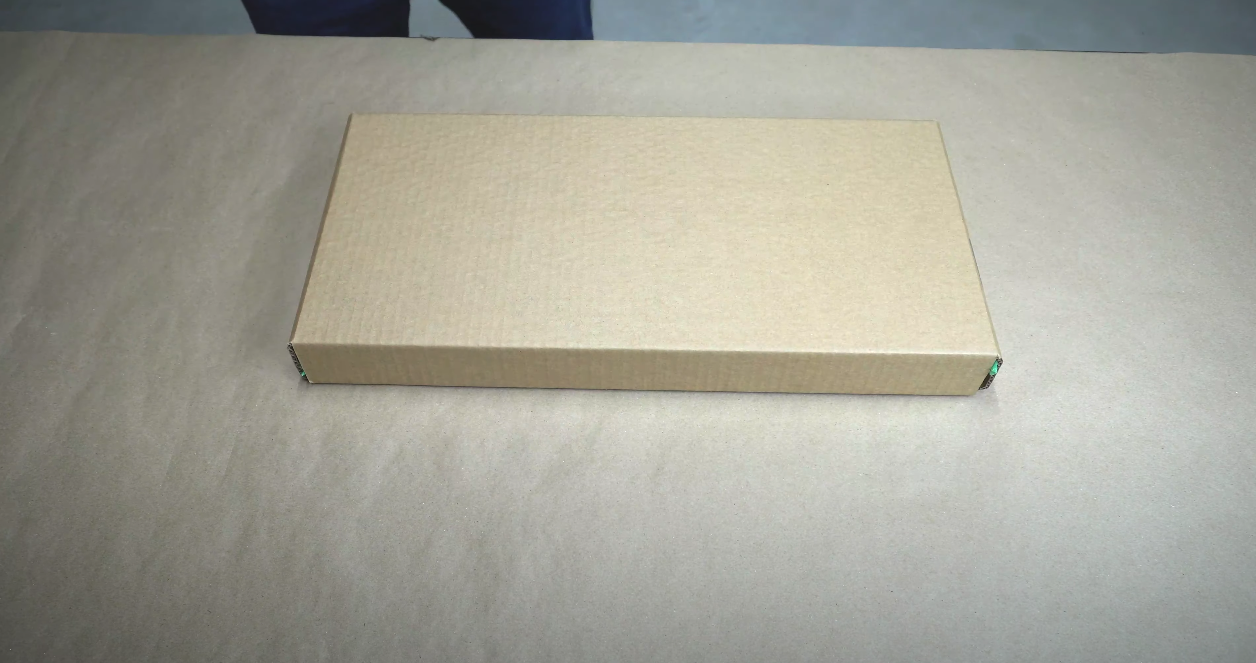
The final step is to box it up! I recommend grabbing a small piece of tape to secure one end of the box together. This will hold everything in place and allow for you to finish taping up the rest of the box. If you have any bubble wrap sticking out you can simply tuck that in and put a piece of tape over it.







Step by step instructions for building a continuous grain wine box!